PT's AeroPress Brew Guide
Since its release in 2005, the AeroPress has grown in popularity, and for good reason. The design is easy to use, easy to clean and store, and it allows you to brew a great cup of coffee quickly. The real magic of the AeroPress lies in its ability to create air pressure within the brew chamber and its full immersion of the grounds in water. These two factors combined create a cup of coffee that is smooth, rich, and typically low in acidity.
The guide below provides a foundation from which to start, though we encourage experimentation as you develop your personal preferences. Have fun with it and remember, “without the love, it’s just coffee.”
Things you’ll need:
- AeroPress and filter
- Burr grinder
- Digital scale that measures in grams
- Range server or your favorite coffee mug
- Whole bean specialty coffee
Brewing parameters:
- Brew time: 2 minutes
- Coffee: 18g
- Water: 250g
- Coffee to water ratio: 1:14
- Grind: medium (auto-drip)
- Ideal water temperature: 195 – 200 degrees Fahrenheit
Step 1
Place filter inside of filter cap and screw it onto the AeroPress. Put the AeroPress on top of your coffee mug or range server. Pour water through the brew chamber to preheat the brewer and rinse the filter. Discard rinse water.
Step 2
Weigh out 18g of whole bean coffee. Grind for auto/drip. Place AeroPress on top of a coffee mug or range server. Pour ground coffee into the brewing chamber.
Step 3
Place everything on your scale. Tare scale to zero with cup/range server underneath the Aeropress.
Step 4
Start a timer and pour water to the “1” mark (appx. 83g of water). Stir.
Step 5
Add more water, now pouring to the “2” mark (appx. 167g of water). Stir.
Step 6
Add the final amount of water, filling the chamber to the “3” mark (appx. 250g of water). Stir.
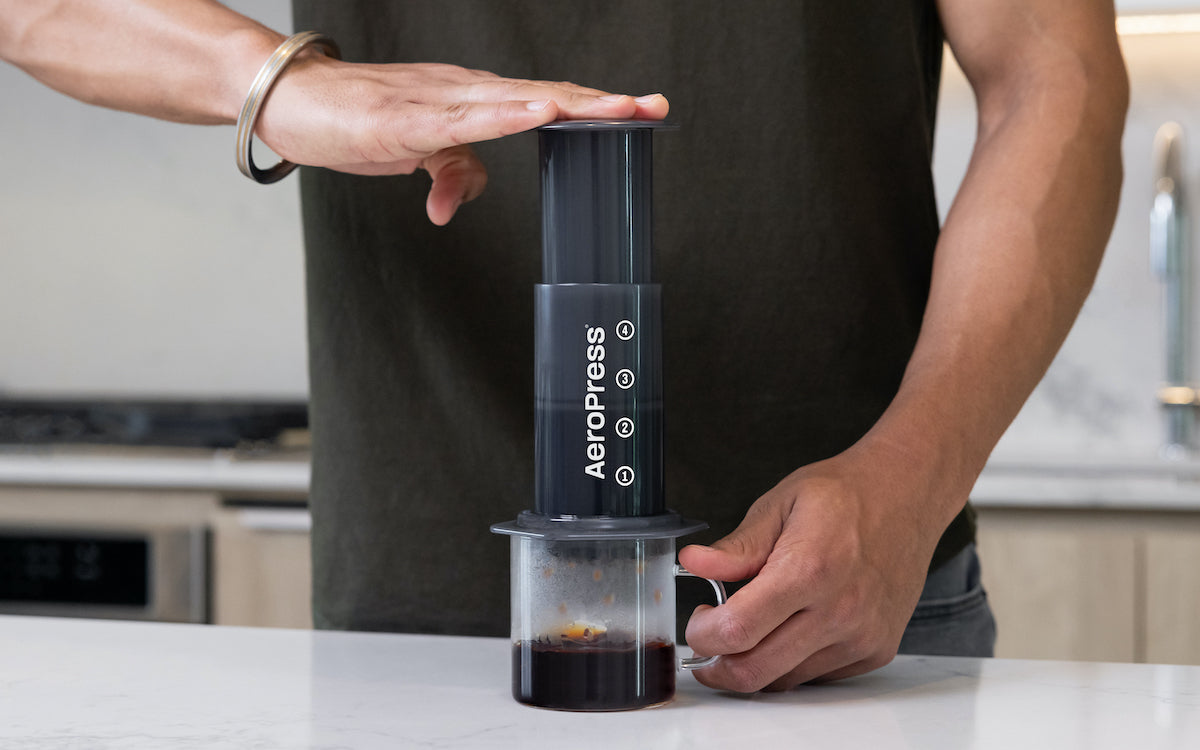
Step 7
Add top chamber and remove everything from the scale. Begin to press down slowly on the plunger and stop pressing when you hear a hissing sound. General brew time is between one and two minutes.
Step 8
Take the AeroPress off your mug, let the coffee rest for a few moments, and enjoy!